

Lash Applicator
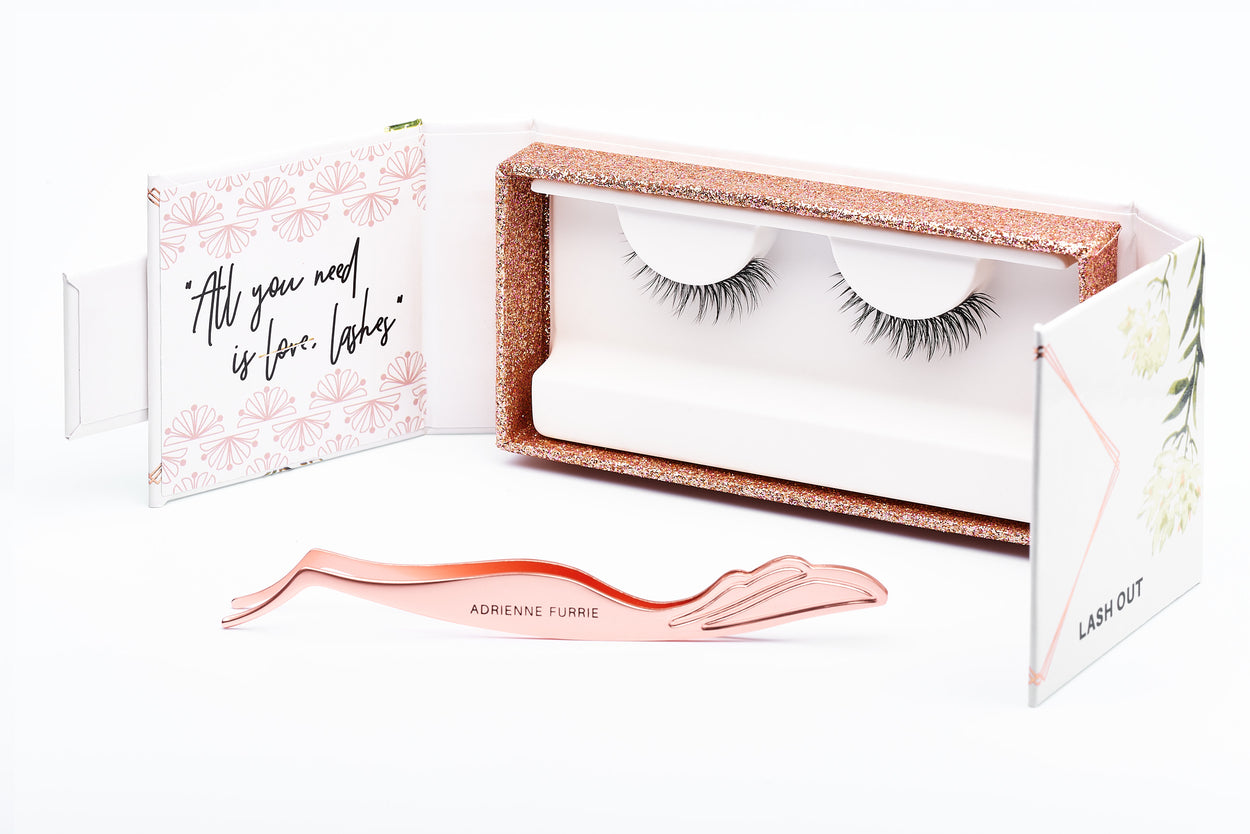
Getting false lashes on can be a little fiddly so we need all the help we can get - enter the Lash Applicator.
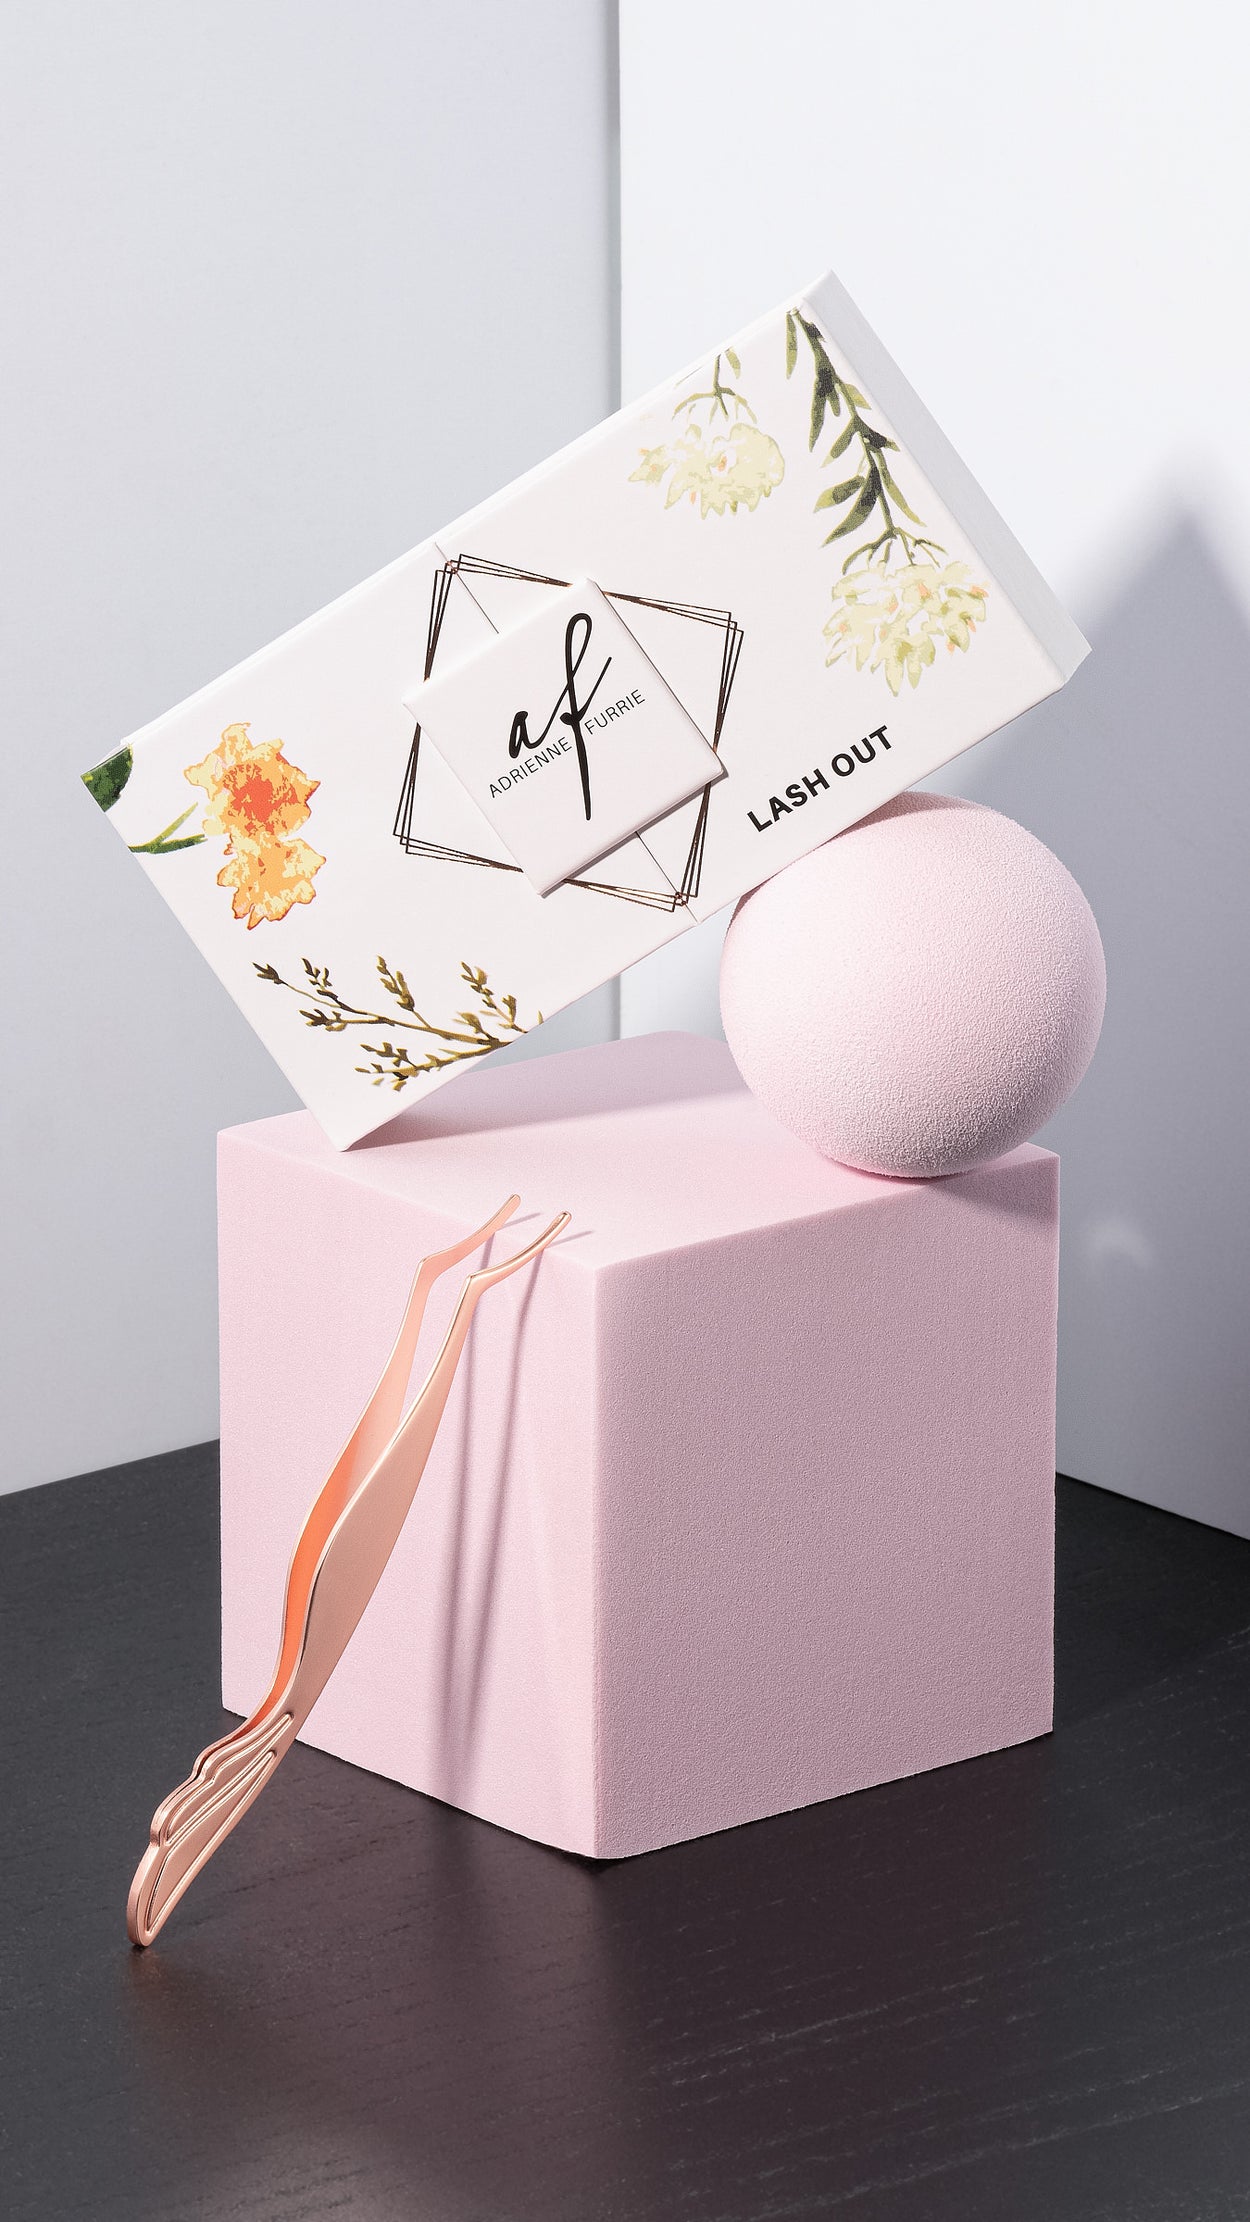
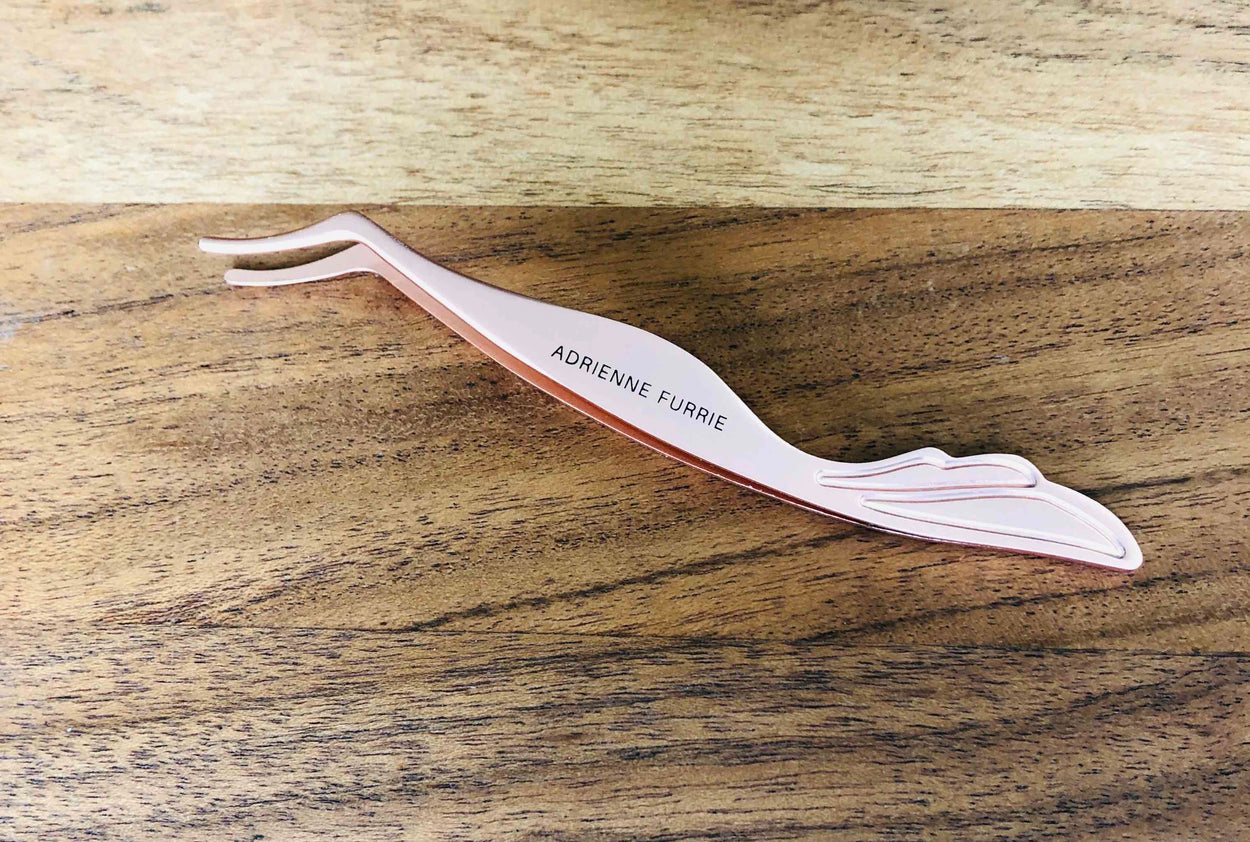
This handy little tool is not only a lovely rose gold that will look oh so very pretty in your makeup bag but more importantly it's highly functional to help you get into those tiny little nooks and crannies of your eyes as you place and secure your AF False Lashes.
Specifically here's how this Lash Applicator makes your false lash applying journey much smoother sailer:
- The quality, metal design allows for a good tight, well aligned grasp (unlike the disposable plastic style which can be more frustrating that helpful)
- Helps to peel up the lashes from the lash tray
- Hold your lashes gently as you carefully apply your lash adhesive and wait (patiently!) for the adhesive to get tacky
- Hold the lashes at a more natural, convenient angle as you apply the band to your lash line
- Allows you to easily grab the tips of the corners to nudge them into place
- You can nudge the entire lash band more snuggly into place
- And as your final finishing step use the tool to gently press your natural lashes together with the false lashes along the entire length of your eye
Complete instructions on applying AF Lash Out - False Lashes:
- Once all your eye makeup is complete, give your lashes a quick curl and apply your mascara.
- Select your preferred style of AF Lashes.
- Remove lash from tray (tweezers can be helpful here) and hold up against your lash line to gauge size before you apply glue. Anticipate needing to trim the strip to a shorter length unless you've got exceptionally large eyes as the band will otherwise extend too far past the end of your eyelid. Trim length of band at the outer corner with the longer lashes, not from the inner corner end with the shorter lashes.
- Apply a decent amount of glue to the base of the false lash, enough so its fully covered but not so much that it's oozing out all over the actual lashes themselves.
- Allow 30 seconds for the glue to become tacky before applying the lash. If you rush to try and apply the lashes right away the glue will be slippery and it won't grab ahold of your skin properly. A bonus tip is to hold the lash band using both hands in a 'horseshoe' shape and roll the band back and forth helping to soften up the band and to reinforce the natural curved shape of the eye you're about to apply the band to. This extra step can help the lash to sit better and feel more comfortable.
- Using a combination of your fingers and your Lash Applicator to apply the lash strip - look downwards into your mirror and line the centre of the band up with the mid point of where you want the lash to sit. Get the band sitting as close as humanly possible to the roots of your actual lashes. Then with a sense of patience and good humour gently press the corners of the lash strip into place. If it doesn't quite line up properly if you move fast you can usually get away with peeling the lash up and re-sticking it once more without having to apply more glue.
- Use your Lash Applicator to help nudge the lash band snuggly into place and also to gently pinch together your natural lashes with the false lash strip.
- Step back and admire your stunning eyes, now that you can do your own false lashes the world is your oyster!
Your cart is empty
Continue shopping
